Skip to content
Products
Artists
Company
News
Support
Products
Artists
Company
News
Support
Search
Search
Close this search box.
Products
Artists
Company
News
Support
Products
Artists
Company
News
Support
Search
Search
Close this search box.
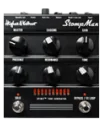
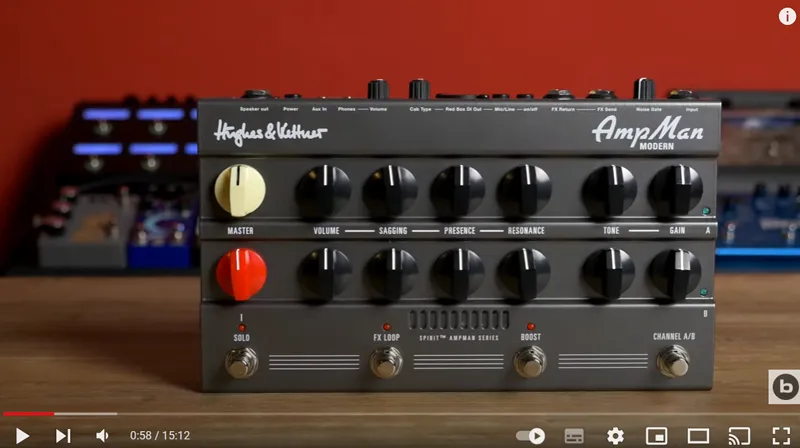
THE GREAT PEDALBOARD AMP OF YOUR CHOICE
AmpMan
see it now
THE POWERHOUSE WITH NO LIMITS
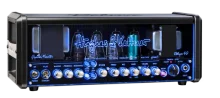
TRIAMP MK3
see it now
40th Anniversary
The Namm Show
see it now
GREAT ARTISTS NEED GREAT GEAR
H&K ARTISTS
see it now
THE GUITAR AMP THAT BECAME A CLASSIC
TUBEMEISTER
see it now
ANALOG TONE FOR A DIGITAL WORLD
BLACK SPIRIT 200
see it now
FULL PROGRAMMABLE TUBE AMP WITH GREAT FX
GRANDMEISTER DELUXE 40
see it now
SMART AND FROM THE HEART
Search
Search
HEADS
Cabinets
Acoustics
Pedals Floors
accessories
see all
HUGHES & KETTNER SOCIAL WALL
Here are some sneak previews from our social media channels.
Please follow if you like!
FOLLOW US ON
Mike Scott - Guitarist for Prince, Justin Timberlake and many others
Hughes & Kettner
November 10, 2023
ERA1 ERA2 great amplifiers for acoustic instruments
Hughes & Kettner
November 11, 2023
GrandMeister Deluxe 40 one of the best guitaramplifiers
Hughes & Kettner
October 19, 2023
Blackspirit 200 - Preset to go!
Hughes & Kettner
September 21, 2023
On the couch with Hughes & Kettner
Hughes & Kettner
September 8, 2023
Ambient Guitar with Hughes & Kettner
Hughes & Kettner
August 29, 2023
What is Smart Rotary Control?
Hughes & Kettner
August 22, 2023
Not Only For Guitar
Hughes & Kettner
November 8, 2023
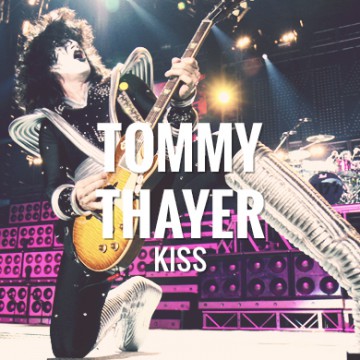
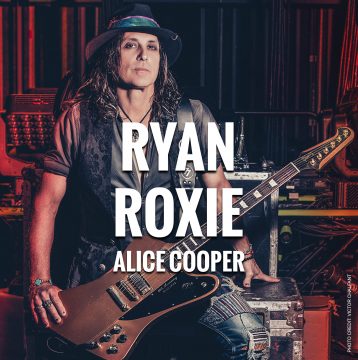
WHO ROCKS WITH OUR GEAR!
Artists presets
Artists presets
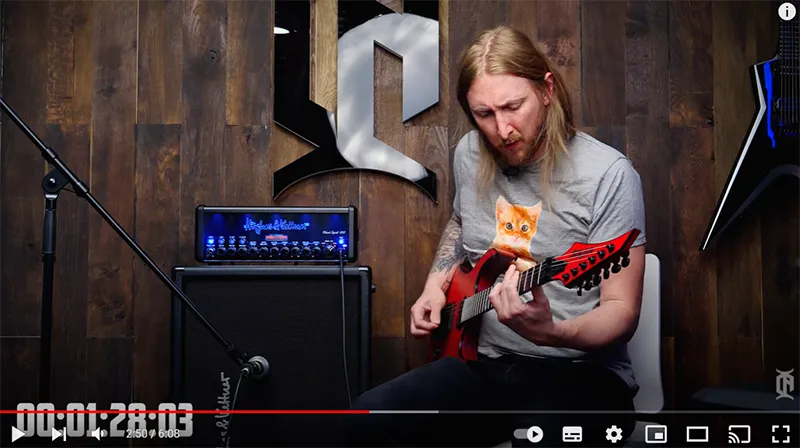
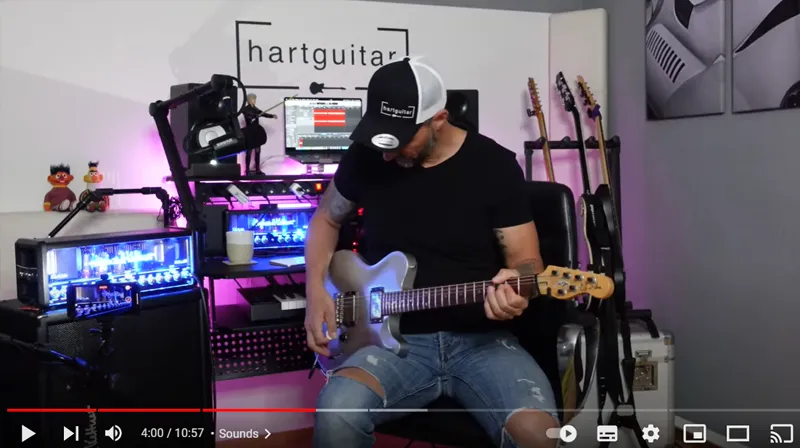
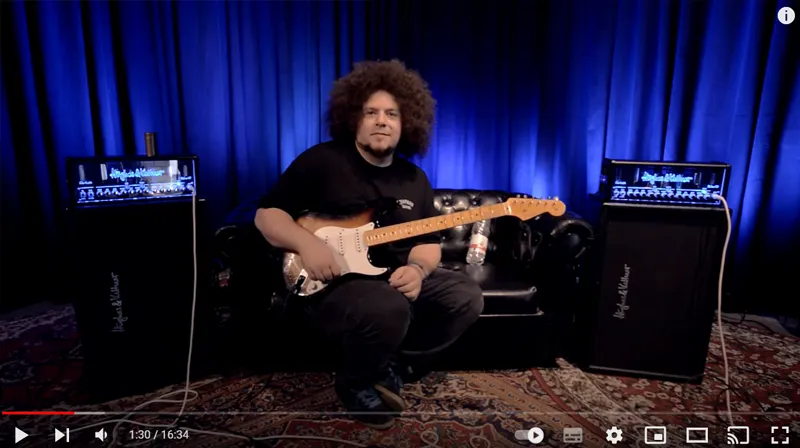
OUR SPECIAL SHOW VIDEOS
Play
Play
Play
Play
Previous
Next


